
After the successful ceiling light redo, I decided to try my hand at the bathroom light. I really wanted something a little more rustic, but with my expensive taste, this will have to do for now. At least all the fixtures match. LOL! I was able to complete four ceiling lights and this bathroom light for under $4!
*This process does involve some electrical knowledge, so, make sure you have a trained professional help with removing/reinstalling the fixture.*
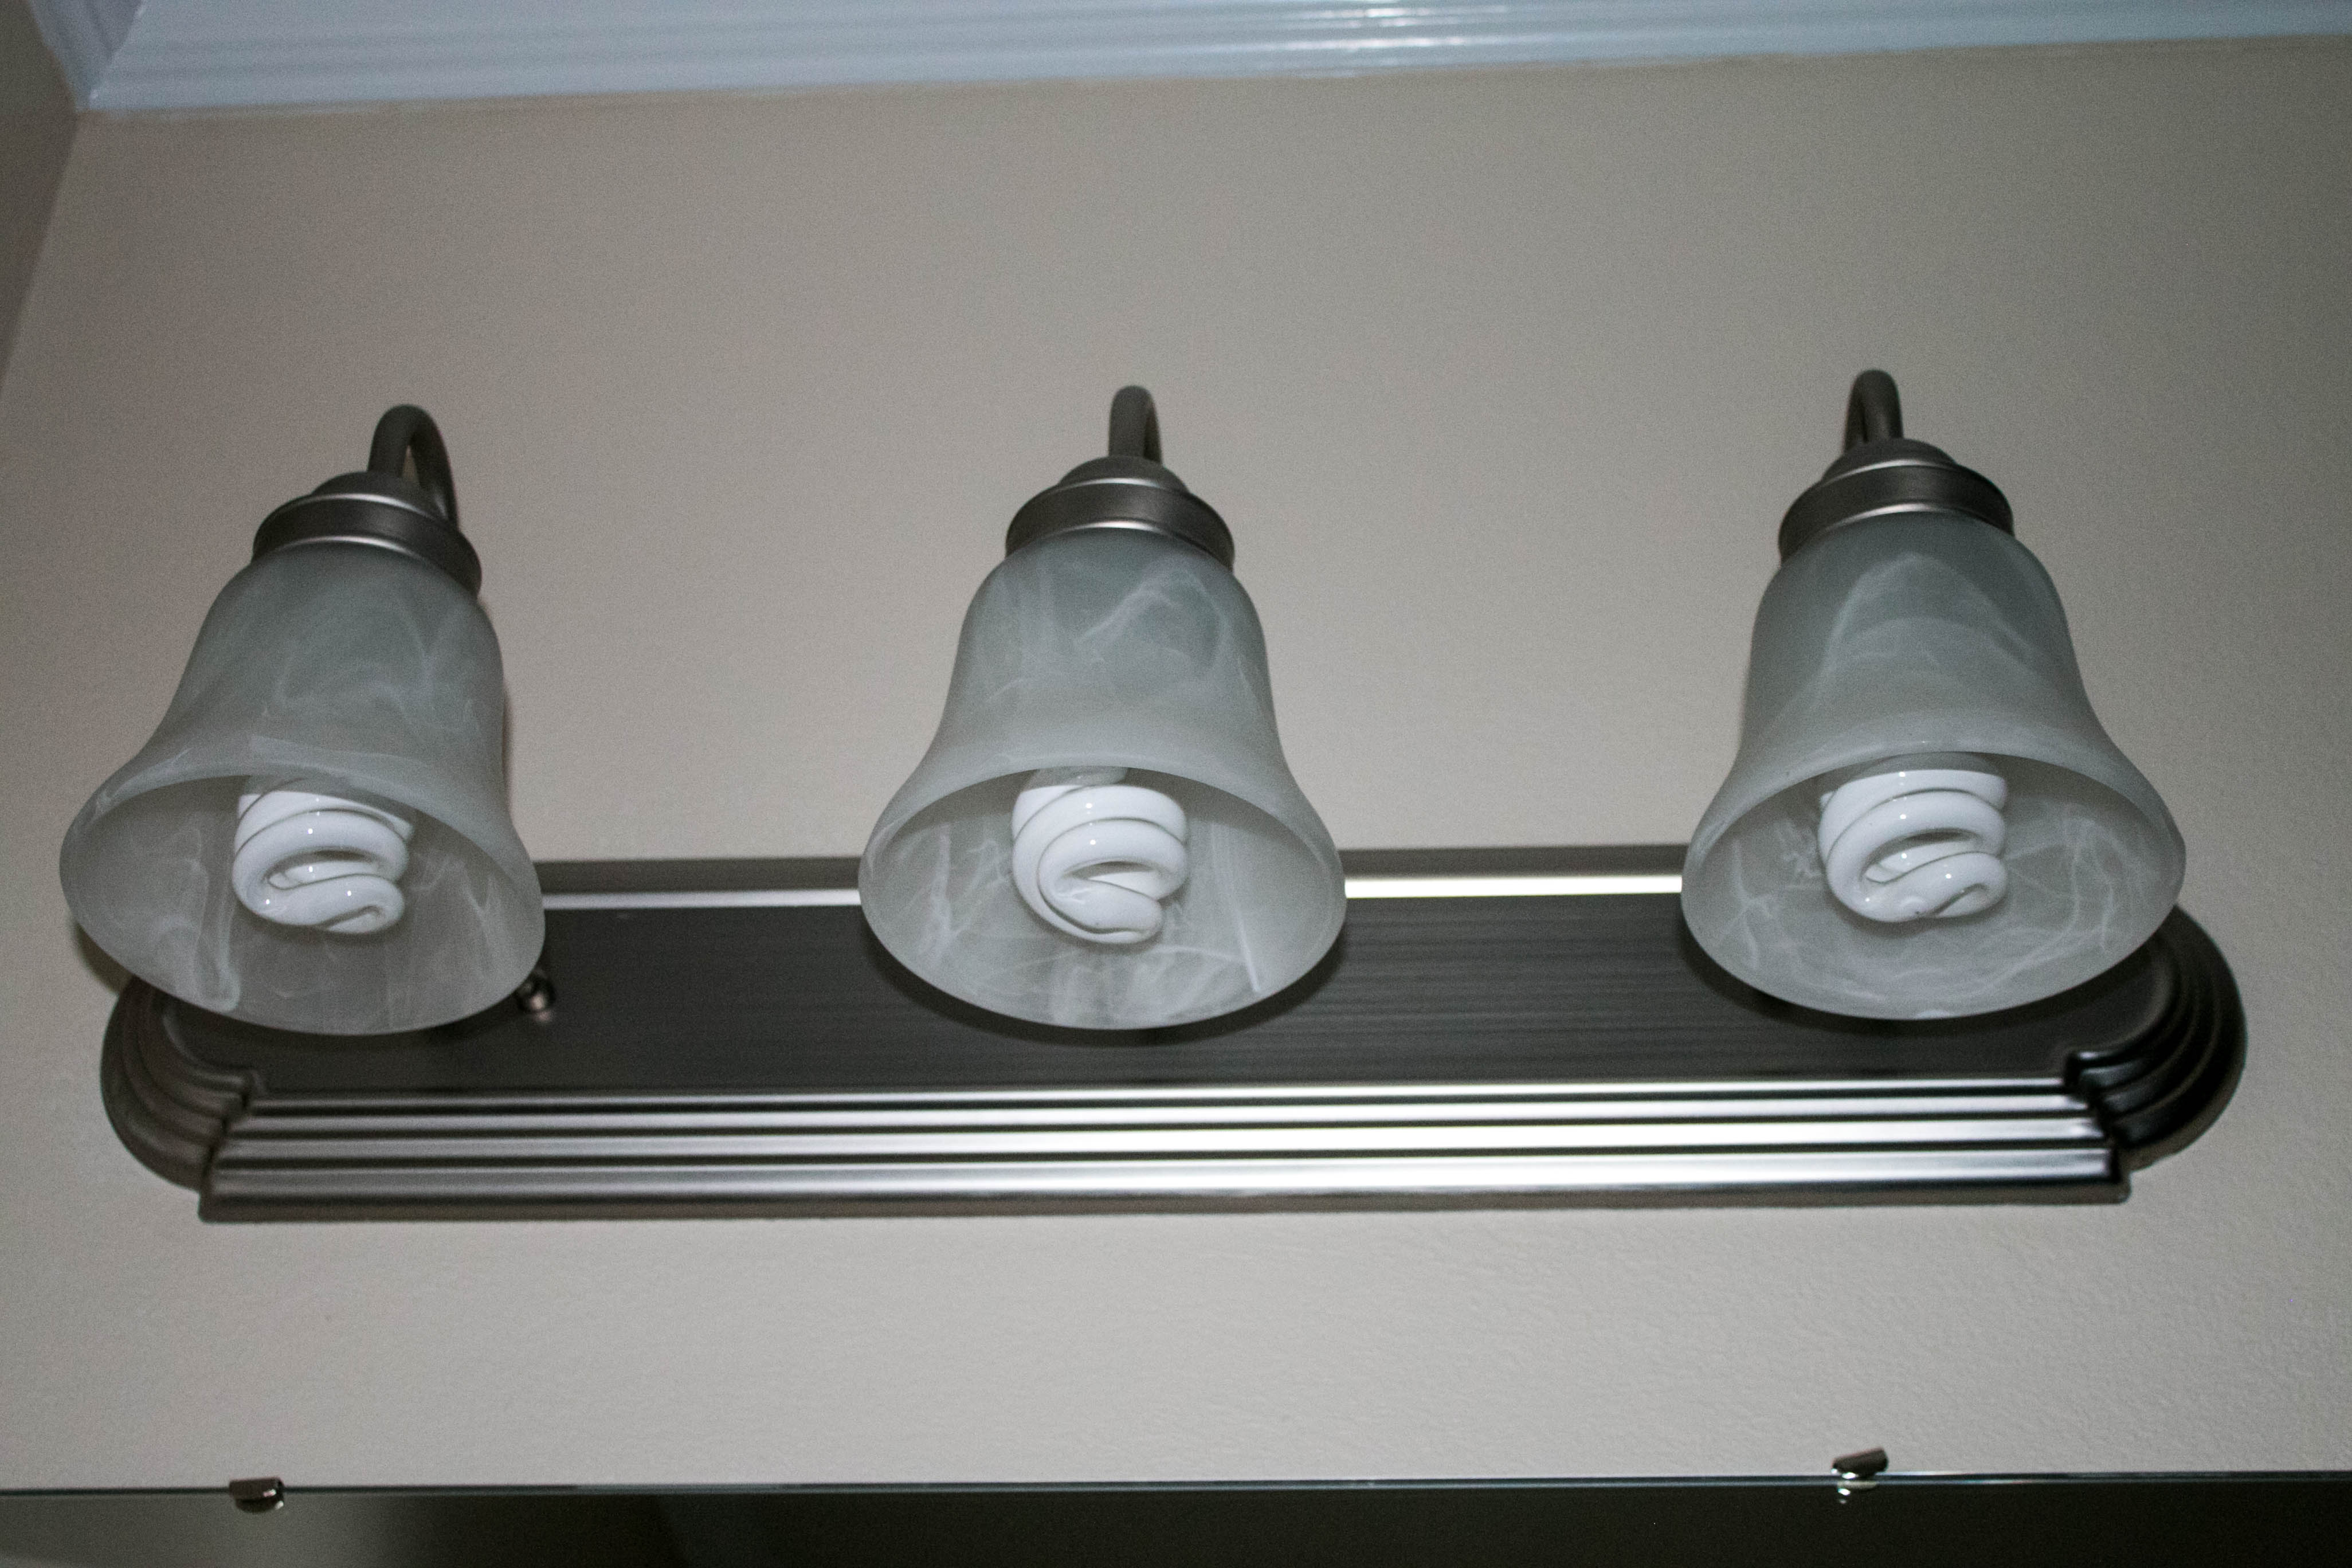
Here is the before:
I cleaned and lightly sanded the finish of the fixture and the little “do-dad’s” that hold it to the wall. I also inserted foil into the light bulb area so as to not get any paint in there (I’m a sloppy painter!)

I then used my food coloring concoction to “stain” the globes. I used 2 drops of yellow food coloring and 1 drop of red on a paper towel. I swirled it around the inside of the globe. I had to repeat that step about 4 times to get the finish I was after. Hint: Use protective gloves when handling the food coloring. I learned the hard way and had stained hands for awhile.
Here are the globes before I “stained” them.

Here are the globes after:

Here is the fixture reinstalled after it’s “make-over!” I think it’s pretty neat!

