
Having a budget for my home improvement projects really stinks! But, until I win the lottery, that is the way it is. 🙂 Since that’s not going to happen anytime soon, I may as well try to save money where I can. The house we bought two years ago has brushed silver fixtures and I tend to migrate toward oil rubbed bronze and black fixtures (leave it to me to want to change everything. HaHa.) I have been in the process of replacing and/or transforming them into what I like. I have been looking at new ceiling fixtures, but I tend to have really expensive taste. I think I would rather put my ceiling fixture budget into the back patio budget this year. But, that still left me with ceiling fixtures that I wanted to change and had to look at every day. I decided to do a little DIY on them and see what I could come up with.
*This process does involve some electrical knowledge, so, make sure you have a trained professional help with removing/reinstalling the fixture from the ceiling.*

The first step was to clean and sand the silver part of the fixture.
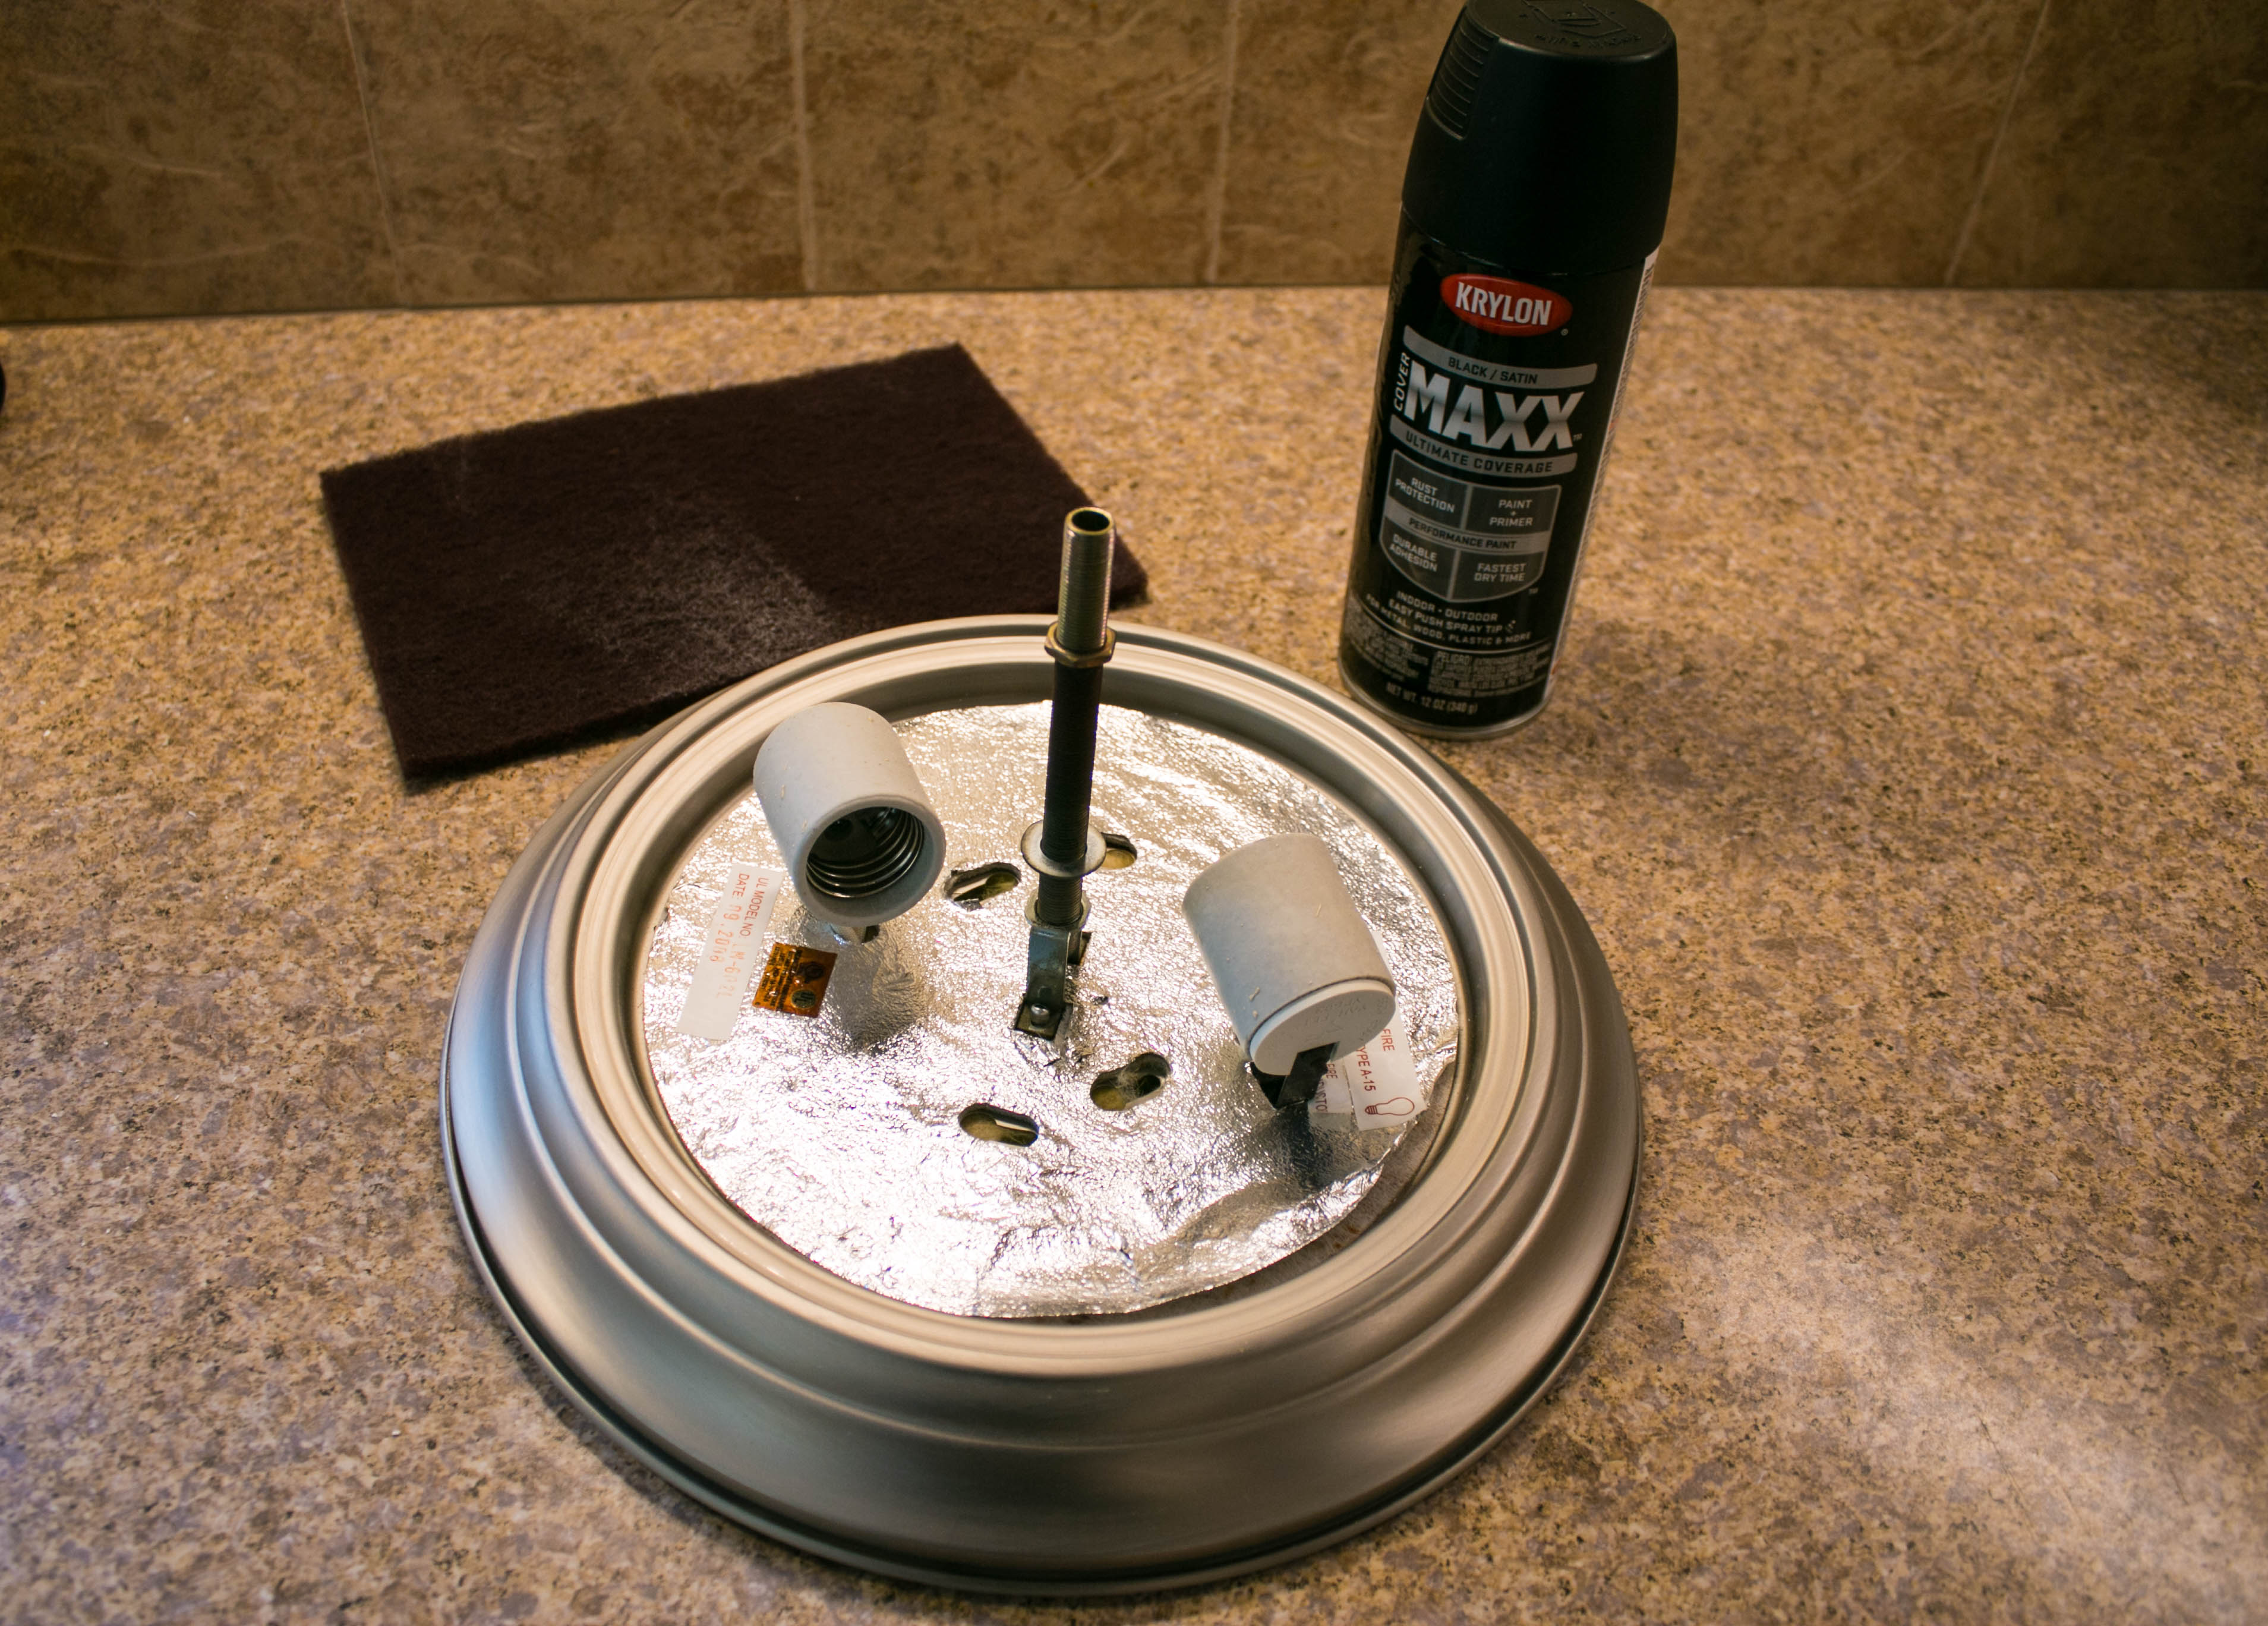
Next, I covered the bulb area with aluminum foil.

I used three coats of Krylon Maxx black satin spray paint to transform the fixture. Don’t forget to paint the little “do-dad’s” that hold the glass globe (I know this because that’s just what I did. LOL!)

Next came time to transform the glass globe. I got creative with some food coloring. I used 2 drops of yellow food coloring and 1 drop of red on a paper towel. I swirled it around the inside of the globe. I had to repeat that step about 4 times to get the finish I was after. Hint: Use protective gloves when handling the food coloring. I learned the hard way and had stained hands for awhile.


This is what the finished project looked like installed!

I was able to do 4 of these fixtures and the guest bathroom fixture (which will be in a later post) with one can of spray paint. I think that was a great budget saver don’t you think? 🙂
